


Flutter has rapidly become one of the most popular frameworks for building beautiful, cross-platform mobile apps. Backed by Google, it allows developers to write a single codebase and deploy it seamlessly to Android, iOS, web, and even desktop.
Flutter simplifies cross-platform app development with its fast reload, expressive UI, and single codebase.
What is Flutter?
Flutter is an open-source UI toolkit built by Google. It enables developers to create natively compiled applications using Dart, Google’s programming language optimized for UI development.
With Flutter, you can:
• Build apps for Android, iOS, web, and desktop from one codebase.
• Achieve native performance using Flutter’s own rendering engine.
• Use hot reload to instantly see code changes.
• Create beautiful UIs with Material Design and Cupertino widgets.
Step 1: Setting Up Your Development Environment
1. Install Flutter SDK
Visit the official Flutter website and download the SDK for your OS (Windows, macOS, or Linux). Run:
- flutter doctor
This checks your environment and shows missing components like Android Studio or Xcode.
2. Install an IDE
Recommended IDEs:
• Android Studio
• VS Code
• IntelliJ IDEA
Add Flutter and Dart plugins from the marketplace.
Step 2: Creating Your First Flutter Project
Run the following commands:
flutter create hello_flutter
cd hello_flutter
flutter run
This launches your first working Flutter app.
Step 3: Understanding Flutter’s Structure
A typical Flutter app follows a widget tree. Everything in Flutter is a widget.
Example:
import 'package:flutter/material.dart';

void main() => runApp(MyApp());

class MyApp extends StatelessWidget {
  @override
  Widget build(BuildContext context) {
    return MaterialApp(
      title: 'Hello Flutter',
      theme: ThemeData(primarySwatch: Colors.blue),
      home: Scaffold(
        appBar: AppBar(title: const Text('Welcome to Flutter')),
        body: const Center(child: Text('Hello World')),
      ),
    );
  }
}
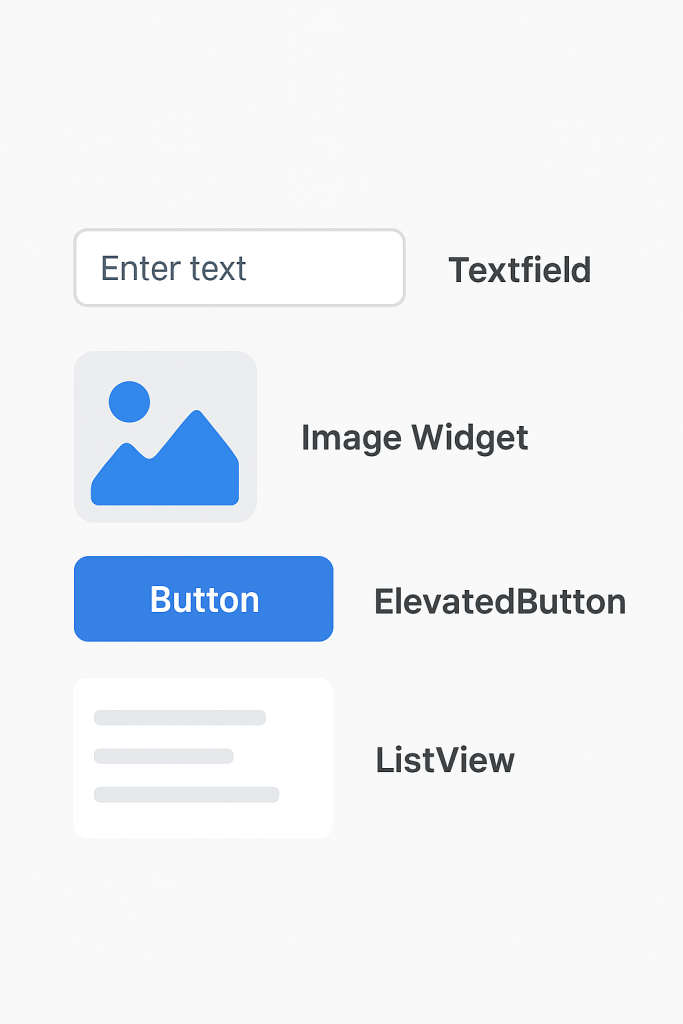
Flutter UI : Core widgets
Text and Styling:
Text(
  'Welcome to Flutter!',
  style: TextStyle(
    fontSize: 24,
    fontWeight: FontWeight.bold,
    color: Colors.teal,
    letterSpacing: 1.2,
  ),
);
Image Widgets :
Image.asset('assets/images/logo.png');
Image.network('https://example.com/image.png');

# Use local (assets/) or network images. Declare asset paths in pubspec.yaml.

flutter:
  assets:
    - assets/images/logo.png
    - assets/images/banner.jpg
Buttons :
ElevatedButton(
  onPressed: () {},
  child: Text('Submit'),
);
TextButton(onPressed: () {}, child: Text('Cancel'));
IconButton(icon: Icon(Icons.favorite), onPressed: () {});
Buttons come in multiple styles: ElevatedButton, OutlinedButton, TextButton
Input Fields :
TextField(
  decoration: InputDecoration(
    labelText: 'Email',
    prefixIcon: Icon(Icons.email),
    border: OutlineInputBorder(),
  ),
);
Lists and Scrolling :
Use ListView, GridView, or SingleChildScrollView for scrolling content.
ListView.builder(
  itemCount: items.length,
  itemBuilder: (context, index) {
    return ListTile(
      leading: Icon(Icons.person),
      title: Text(items[index]),
    );
  },
);Next, we’ll explore layout widgets, navigation, dialogs, state management, and deploying an app.